In keeping with my love of classic colonial design, I have for years admired the timeless look of putting a wreath hung by ribbon in each window. I also am a fan of a candle in each window during the holidays and have been sporting this look for some time now. This was the year I decided to make the investment in wreaths for each of my 8 front windows, and it was neither as difficult nor as expensive as I thought it would have been. Here’s how it’s done. First, a before shot of my house, boring!

You’ll need:
- One evergreen or faux evergreen wreath for each window (most people only do the front of their home). I used 24” diameter wreaths for my windows.
- Wired ribbon, I used 4 spools that were 10 yards each and at least 2.5” wide
- Floral wire
- Hot glue gun and glue
- Scissors
- Wire cutters
- Stapler and staples
The first thing I did (and I bribed my kids to help which made it go SOOO much faster) was remove the screens from my windows and cleaned the glass. This will allow you to hang the wreaths from the inside and will overall look very neat and clean.
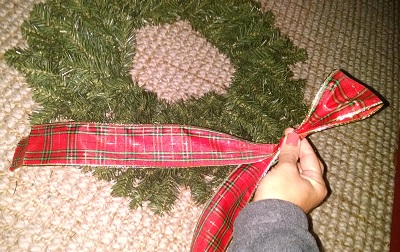
Next, before you hang the wreaths you probably want to put a bow on them. A bow can either be placed at the top or the bottom of the wreath. I opted to put my bows at the top. Making the bow is the most time consuming part of the whole process and I’ll be honest, it can take some practice to get them right.
Cut a length of wire about 5 inches long and place it nearby. Take a length of ribbon of about 18 inches but don’t cut it off the spool, but pinch it at the 18” mark. This will leave one of the 2 “tails” of the bow. Take about 3 to 4 inches (depending on how large you want your bow to be and how big your ribbon is) make a loop and repinch it.
There’s going to be a lot of pinching going on for the next few minutes – warning – your fingers will probably cramp up. Turn the ribbon about a quarter turn and make and pinch another loop.

Repeat this process several times until you have 5 or 6 loops, just until it looks right. Brilliantly descriptive, eh? Take your pre-cut length of wire and wrap it around the area where you are pinching and twist it very tight so that the loops stay intact and are held together.

Pull the ribbon another 18” from the spool and cut it free from the spool. Angle cut the end of each tail. Ta-da! You made a bow. Once you get the hang of this technique it is such a great skill to have in your repertoire for gift wrapping, floral arranging, it really comes in handy!
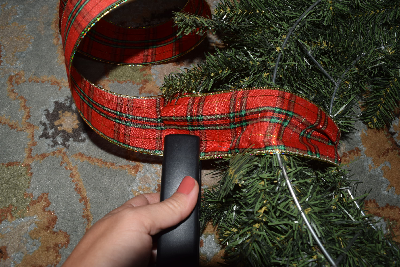
Next, it’s on to attaching the ribbon that will actually hang the wreath. Pull several feet of ribbon from the spool (will depend on the size of your window and the size of the wreath). I like to hang mine about halfway down the window so about 3.5 feet of ribbon was enough for me. Again, leave this length of ribbon attached to the spool and wrap it around the “top” of the wreath leaving an overlap of about 4 to 6 inches in the back. Staple the ribbon where it overlaps.
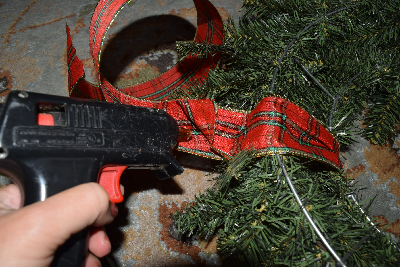
I also like to add a few dots of hot glue between the 2 lengths of ribbon to really hold it.
Next attach your premade bow. You could hot glue it on, but over time, especially if you live in a warm climate, this could come free, so I prefer to wire mine on.
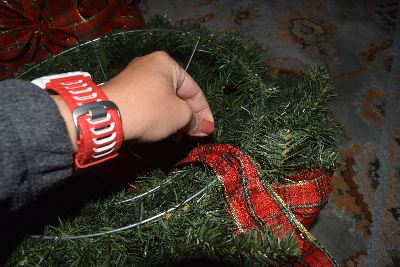
Take a length of about 5 inches and wire the bow to the wreath. Since I put my bow at the top of the wreath I wired mine around both the wreath and the top ribbon for extra security.

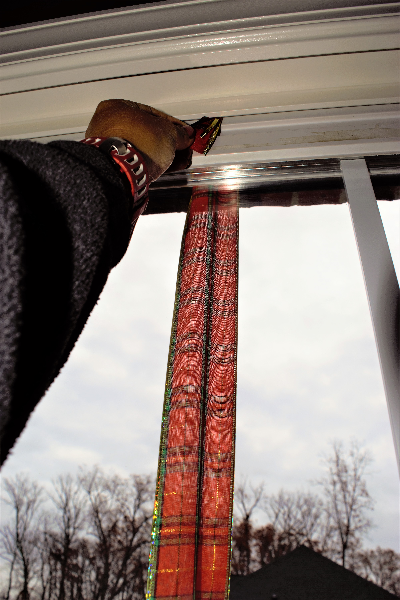
Now it’s time to hang your wreath! You could measure out exactly how long you want to hang them but I used the grids on my window and just eyeballed it. Open the top of your window and dangle the wreath out, holding onto the spool end of the ribbon. Lower the wreath to the place you want it and close the top window. Cut your ribbon from the spool with about 5 inches to spare. Use this excess to tie a knot (depending on how substantial your ribbon is you may want to do this several times over so your wreath stays secure in the window). If you have wood windows you could also thumbtack them to the frame, but the knot method works for vinyl or wood windows.
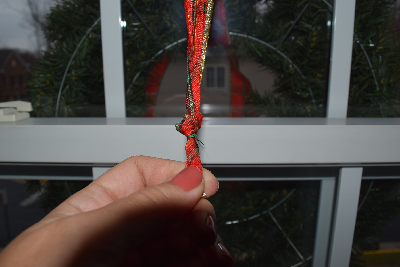
Cut off any excess ribbon hanging inside the window.
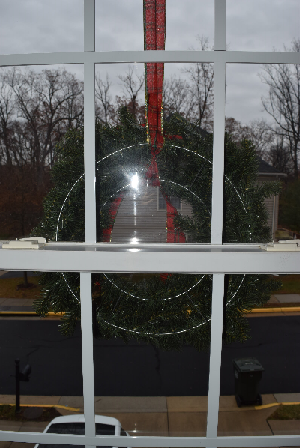
Repeat for all of your windows, and once complete be sure to take a trip outside to make sure they all look even and if necessary just pop inside and reknot if a wreath needs to go up or down!
I got both the wreaths and ribbon on sale and spent under $40 for the project. Besides cleaning the windows it took me about 2 hours to complete and hang all 8 wreaths, though I did have this little helper.


Get to decking those halls!